

By Dave Stys Oct 4, 2022
Up your e-mail coding abilities with this phase-by-step AMP for Electronic mail tutorial. Create your have electronic mail that allows audience change the hues of a product graphic.
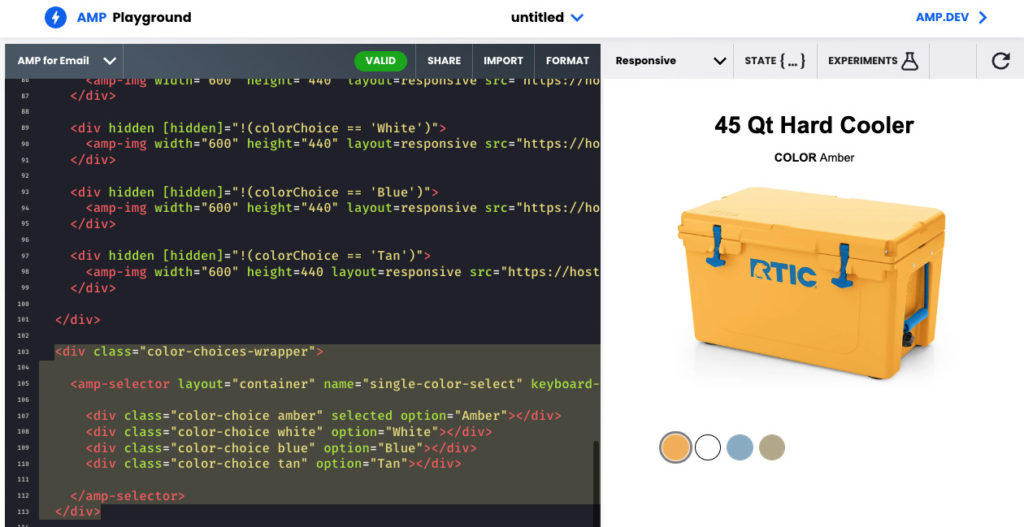
In this this tutorial you will learn how to make an interactive e-commerce electronic mail message. We’ll display screen a products with several shade selections. The reader will be ready to push each individual color and dynamically update the item image. Here’s what it seems like (see the full code illustration):
Though it’s a relatively easy case in point, you will turn into familiar with a couple significant AMP for Electronic mail elements such as:
- amp-img an AMP substitute for the html5 img tag.
- amp-selector a manage for choosing just one or a lot more alternatives
- amp-bind responds to user steps such as hovers, clicks, kind submissions, and so forth.
To give you an concept of what else can be with these components, here’s a a lot more sophisticated case in point from Google. This adds the additional complexity of demonstrating distinct products and solutions (the 1-pack, 2-pack, and 3-pack) and lets men and women see those people solutions in distinctive shades, but the theory of what you will learn below is the similar.
Move 1 – Fast Start off with the AMP Playground
We will use the official AMP Playground for this tutorial. I have absent ahead and provided some essential CSS for laying out our merchandise graphic and the color selectors so you can emphasis on studying how the AMP components operate.
Go to this tailor made AMP Playground for a swift way to get begun.
Move 2 – Increase The Product or service Particulars
Let us start off laying out the concept. We’ll begin with the product tile, description (just coloration in this case), and the product or service images. Increase the following inside of the
.
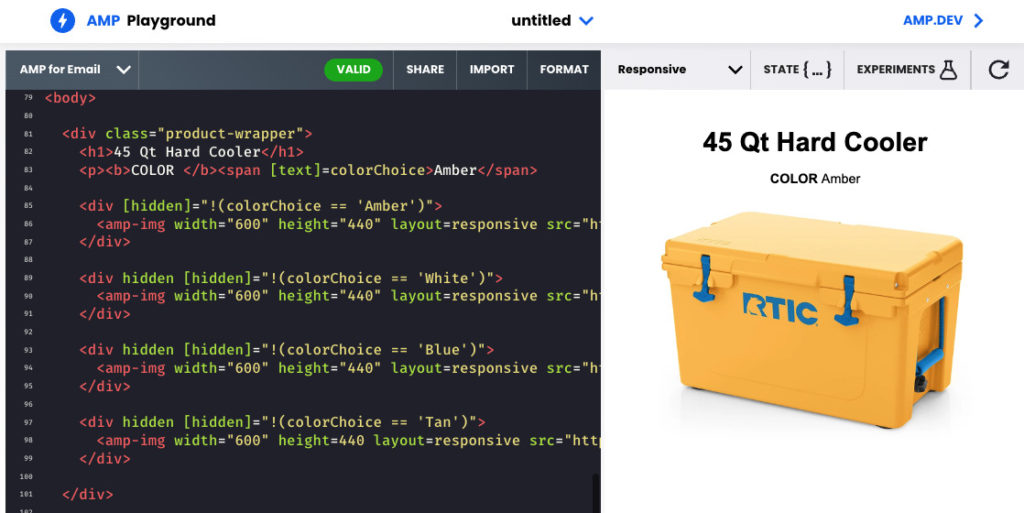
    45 Qt Tricky Cooler
    Color Amber
Observe, we’re working with [text]=colorChoice. This is a hook that we can use later on on in the tutorial to update the merchandise description with the preferred coloration. For case in point, when the person chooses “Blue”, the text will dynamically update from “COLOR Amber” to “COLOR Blue”.
Following let us include our initial item picture. Let us get started with our default coloration, Amber.
The [hidden]="!(colorChoice == 'Amber') which usually means that the Amber products graphic will only be noticed when the consumer selects the Amber coloration.
Future, include the remaining products images, 1 for every single shade. Each and every of these will originally be hidden, as the Amber shade will be the default product variation.
Action 3 – Introducing the Color Possibilities
It is last but not least time to include a selector for every single of the colour possibilities. We’ll use amp-point out will be updated to reflect that color selection. The modify to amp-state allows the relaxation of our doc know to change the product picture and the colour description. Add the adhering to down below the merchandise particulars.
The colorChoice variable. This variable is applied to screen the suitable solution image and to update the colour description text in the solution particulars.
on="select: AMP.setState(colorChoice: occasion.targetOption)"
At this level, go ahead and attempt picking out each and every coloration option. You should really see your item details update appropriately.
Comprehending How it Operates
Here is a summary of the essential concepts utilized in this example.
Color Selectors: The shade selector, colorChoice variable through the document. (
on="decide on: AMP.setState(colorChoice: function.targetOption)"
Solution Illustrations or photos: The product photographs have essential logic to disguise or exhibit every single impression centered on the benefit of the colorChoice variable. Illustration: concealed = True when colorChoice is not equal to ‘Amber’.
[hidden]="!(colorChoice == 'Amber')"Product Description: The item description textual content also updates to the price of the colorChoice variable.
AmberClearly show us what you created!
Following, I propose sending oneself a copy of the message you created from this tutorial. Use an email support service provider that supports AMP for E-mail these as AWeber or use the Gmail AMP Playground.
If you have been encouraged by this article, I’d adore to see what you developed! Share in the feedback below or send out me an email and check with me to get a look.


More Stories
Career Counselling – Finding a Career Suited to Your Personality
New Small Business Loans Starter Guide: What Are Your Options for Financing As a New Business Owner?
Career Guidance and Career Advice for Graduates